How to use AI stickers in Story for creative effects
Instagram keeps coming up with new features to help users create more engaging content. One of the latest innovations is AI (Artificial Intelligence) stickers on Story, which utilize artificial intelligence to add unique visual elements-from automatically animated backgrounds to text that adapts to the style of your content. By using AI stickers, you can not only experiment with design, but also express unlimited creativity. This article will guide you step-by-step, covering how to find AI stickers, apply them, adjust parameters, and tips on maximizing results to make your Story stand out.
Finding AI stickers on Instagram Story
First, open the Instagram app and swipe right to enter Story mode. Once the camera appears, take a photo or record a video according to the theme. In the edit view, tap the sticker icon at the top of the screen. There, you’ll see a variety of sticker categories, including location stickers, emojis, GIFs, and now “AI” or “Generative” options. If it doesn’t appear yet, make sure your Instagram app is updated to the latest version via the App Store or Google Play. Once the AI option is available, tap on the category to display a gallery of stickers generated in real time. Some stickers may require a stable internet connection to load generative content smoothly.
How to add and customize AI stickers
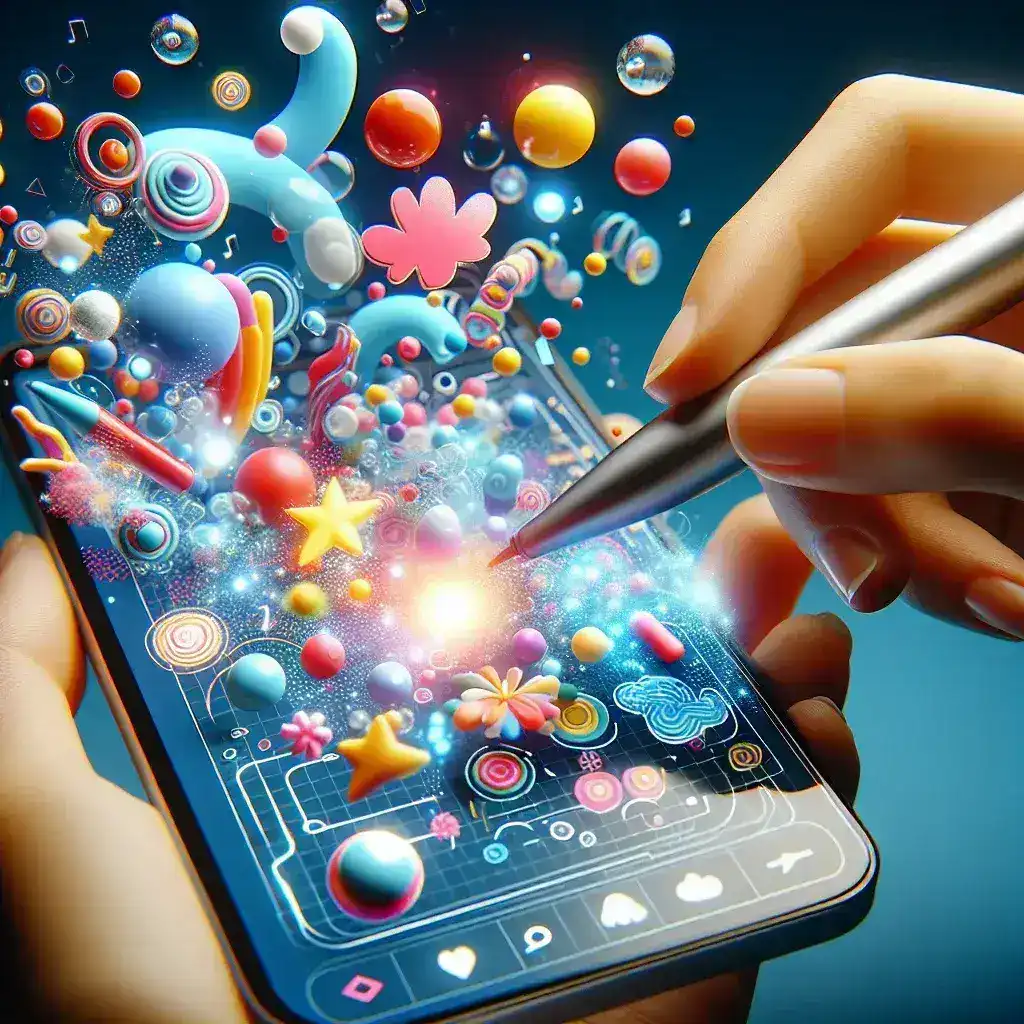
After selecting the AI category, you will see a set of pre-designed stickers and some prompt options. To add a sticker, simply tap on the design you like. The sticker will appear in the center of the screen-you can pan, zoom in, or zoom out using two fingers. If you want to include custom generative content, select the “Create” or “Generate” option and type in a short prompt describing the desired element, such as “pastel colored animated clouds” or “neon text that says Good Morning”. Instagram will process the request within a few seconds and display the corresponding AI sticker. You can tap on the sticker to change variants until you find the design that best fits your Story.
AI stickers on Instagram Story often come with color, transparency, and animation controls. To adjust the color, double-tap the sticker until a small color palette appears. Choose a hue that harmonizes with your photo or video. To change the transparency, use the slider provided after selecting the sticker, allowing you to create a subtle overlay effect. If the sticker is animated, tap the play icon or select the loop option in the corner of the sticker to determine whether the animation repeats continuously or is a one-time loop. With this combination of settings, your Story will look more professional and integrated with the main content.
Applying AI stickers to different types of content
AI stickers aren’t just suitable for everyday content-they can also enrich marketing materials or tutorials. For example, if you’re promoting a beauty product, use the “bg shimmer” AI sticker to add sparkle behind a product portrait. For educational stories, choose modern-themed AI text stickers that explain short steps. For creators who often share travel footage, use the “map doodle” AI sticker to artistically depict travel paths. Even if you’re combining downloaded clips using sssinstagram, AI stickers can unify different visual elements into an aesthetic whole without the need for additional editing apps.
Tips for maximizing creativity with AI stickers
To maximize the effect of AI stickers, pay attention to the contrast between the sticker element and the background of the content. If the background of the photo is too busy, choose stickers with thick outlines or solid colors. On the other hand, for simple photos, you can use semi-transparent stickers so as not to cover the main object. Use generative prompts that are specific yet concise so that the AI produces the design as expected-avoid too long prompts that can lead to messy results. Also, combine multiple AI stickers in one Story to create a layered feel, such as a small animated star sticker on top of a neon text sticker. Experiment with the duration of the sticker display; for example, the AI sticker only appears at the 3rd to 6th second, then disappears to make room for other text.
Saving and sharing a Story with AI stickers
Once you’ve styled your AI stickers, tap the “Your Story” button to share directly to your followers. If you want to share to Close Friends only, select that option to make the AI stickers a special surprise for a select audience. You can also save your Story to your gallery before posting by tapping the download icon, so that the AI stickers you’ve applied can be reviewed or reused at a later date. Instagram will include the AI sticker format in PNG or MP4 files, depending on the animation you choose. Keep these downloads as reference or backup material in case you need to re-edit outside of the app.
Analyze performance and adjust strategy
After sharing a Story with AI stickers, monitor performance through Instagram Insights. Pay attention to view rate and reaction metrics; Stories with eye-catching AI stickers tend to get more views and higher emoji responses. If a particular AI sticker proves popular, consider making it a signature element in every Story, creating branding consistency. Conversely, if the sticker isn’t quite right, replace it with another style or experiment with different prompts. By regularly monitoring performance, you can continue to refine your use of AI stickers so that your Stories are not only engaging, but also effective in achieving your goals for both engagement and conversions.
Through this guide, you can easily utilize AI stickers to enrich your Instagram Story content without the need for third-party applications. From finding stickers, adjusting the design, to analyzing the results, all steps can be done in one platform. Happy experimenting and let your creativity shine through unique and captivating AI stickers!


Leave a Comment